
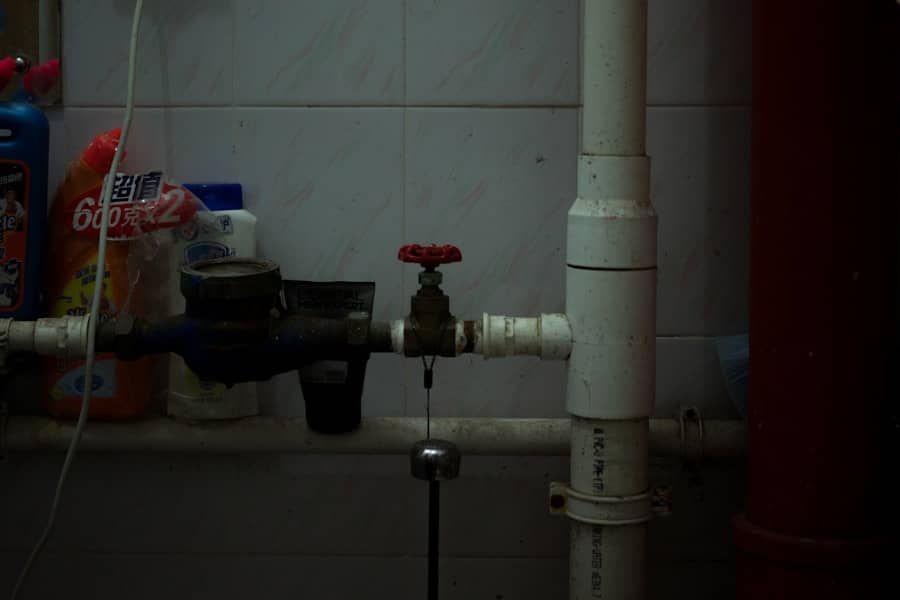
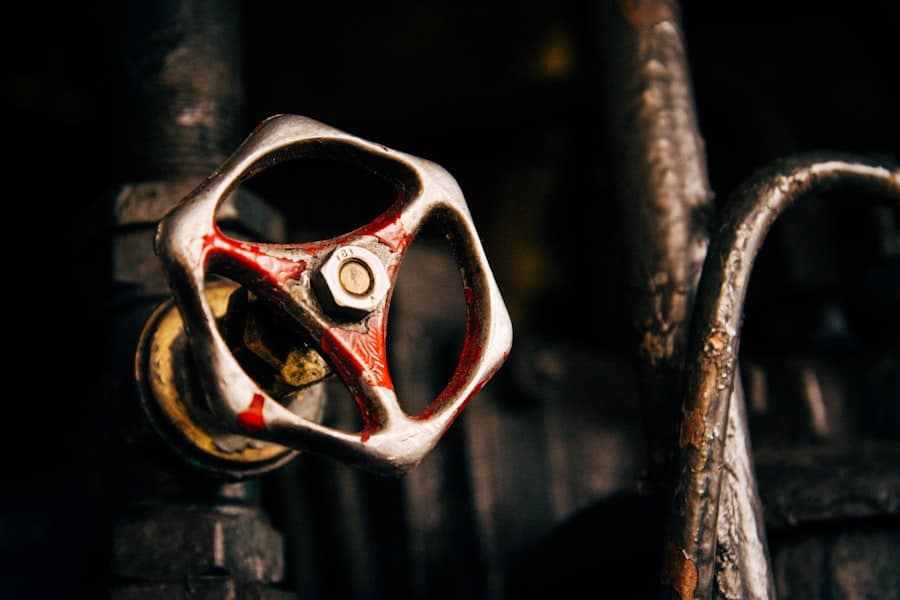
Sprinkler valves play a crucial role in the irrigation systems that keep your garden lush and vibrant. These valves act as the gatekeepers of water flow, controlling when and how much water is delivered to your plants. When you set your irrigation timer, it sends a signal to the valve, which then opens to allow water to flow through the pipes and into your sprinkler heads.
This process ensures that your plants receive the right amount of moisture at the right time, promoting healthy growth and reducing water waste. In essence, sprinkler valves are designed to manage the distribution of water efficiently. They can be either manual or automatic, with automatic valves being more common in modern irrigation systems.
Automatic valves are typically controlled by a timer or a smart irrigation controller, allowing for precise scheduling based on weather conditions and plant needs. Understanding how these valves function is essential for maintaining an effective irrigation system and ensuring that your garden thrives.
Key Takeaways
- Understanding the Function of Sprinkler Valves
- Sprinkler valves control the flow of water to the sprinkler heads in a system, opening and closing to allow water to reach the designated areas.
- Signs of a Faulty Sprinkler Valve
- Common signs of a faulty sprinkler valve include water not reaching certain areas, leaks around the valve, and inconsistent water pressure.
- Importance of Regular Maintenance
- Regular maintenance of sprinkler valves is crucial to ensure proper functioning and prevent costly repairs or replacements.
- Factors to Consider Before Replacing a Sprinkler Valve
- Factors to consider before replacing a sprinkler valve include the age of the system, the extent of the damage, and the availability of replacement parts.
- How to Test a Sprinkler Valve for Malfunction
- Testing a sprinkler valve for malfunction involves checking for leaks, ensuring proper water flow, and inspecting the valve for any visible damage.
- Common Problems with Sprinkler Valves
- Common problems with sprinkler valves include clogs, leaks, and electrical issues that can affect the proper functioning of the system.
- When to Repair vs. Replace a Sprinkler Valve
- Knowing when to repair or replace a sprinkler valve depends on the extent of the damage, the cost of repairs, and the overall condition of the system.
- Hiring a Professional vs. DIY Replacement
- Deciding between hiring a professional or DIY replacement depends on the complexity of the job, the individual’s skill level, and the availability of time.
- Choosing the Right Replacement Sprinkler Valve
- Choosing the right replacement sprinkler valve involves considering the size, type, and compatibility with the existing system to ensure proper functioning.
- Steps for Properly Installing a New Sprinkler Valve
- Properly installing a new sprinkler valve involves shutting off the water supply, removing the old valve, installing the new valve, and testing for leaks and proper functioning.
- Maintaining a New Sprinkler Valve
- After installing a new sprinkler valve, regular maintenance is essential to ensure its longevity and proper functioning, including checking for leaks and cleaning the valve as needed.
Signs of a Faulty Sprinkler Valve
Recognizing the signs of a faulty sprinkler valve is vital for maintaining an efficient irrigation system. One of the most common indicators is inconsistent water flow. If you notice that some areas of your garden are receiving too much water while others are left dry, it could be a sign that your sprinkler valve is malfunctioning.
This uneven distribution can lead to overwatering in some spots and underwatering in others, ultimately harming your plants. Another telltale sign of a faulty valve is water pooling around the valve itself or in nearby areas. If you observe puddles forming where there shouldn’t be any, it may indicate a leak or a failure in the valve’s sealing mechanism.
Additionally, if you hear hissing or see water spraying from the valve when it should be closed, these are clear signs that something is amiss. Addressing these issues promptly can save you time, money, and effort in the long run.
Importance of Regular Maintenance
Regular maintenance of your sprinkler valves is essential for ensuring their longevity and optimal performance. Just like any other component of your irrigation system, valves can wear out over time due to exposure to water, soil, and environmental factors. By conducting routine checks and maintenance, you can identify potential issues before they escalate into costly repairs or replacements.
Moreover, regular maintenance helps to improve the efficiency of your irrigation system. A well-maintained valve will operate smoothly, providing consistent water flow and reducing the risk of leaks or malfunctions. This not only conserves water but also promotes healthier plant growth by ensuring that each area of your garden receives adequate moisture.
Taking the time to inspect and maintain your sprinkler valves can lead to significant savings on your water bill and contribute to a more sustainable gardening practice.
Factors to Consider Before Replacing a Sprinkler Valve
Before deciding to replace a sprinkler valve, there are several factors you should consider to ensure you make an informed decision. First and foremost, assess the age and condition of your current valve. If it’s relatively new and has only minor issues, repairing it may be more cost-effective than replacing it entirely.
On the other hand, if the valve is old and has been problematic for some time, investing in a new one might be the better option. Another important factor is compatibility with your existing irrigation system. Not all valves are created equal; they come in various sizes, types, and materials.
Before purchasing a replacement valve, ensure that it matches the specifications of your current system to avoid further complications down the line. Additionally, consider your budget and whether you’re willing to invest in a higher-quality valve that may offer better durability and performance over time.
How to Test a Sprinkler Valve for Malfunction
Testing a sprinkler valve for malfunction is a straightforward process that can help you identify issues before they worsen. Start by turning off the water supply to your irrigation system and then manually open the valve to check for any visible signs of damage or wear. Look for cracks, corrosion, or any debris that may be obstructing the valve’s operation.
If everything appears intact, proceed to test the valve’s functionality. Next, turn the water supply back on and observe how the valve operates when activated by your irrigation timer. Pay attention to whether it opens and closes properly without any leaks or unusual noises.
If you notice any irregularities during this process—such as continuous water flow when the valve should be closed—it’s likely that the valve is malfunctioning and may need repair or replacement.
Common Problems with Sprinkler Valves
Sprinkler valves can encounter various problems that affect their performance and efficiency. One common issue is solenoid failure, which can prevent the valve from opening or closing properly. The solenoid is an electromagnetic device that controls the flow of water through the valve; if it becomes damaged or burnt out, it may need to be replaced to restore functionality.
Another frequent problem is debris buildup within the valve itself. Over time, dirt, sediment, and other particles can accumulate inside the valve, leading to clogs that hinder water flow. Regular maintenance can help mitigate this issue by allowing you to clean or flush out the valve periodically.
Additionally, improper installation can lead to leaks or malfunctions; ensuring that your sprinkler valve is installed correctly from the start can save you from future headaches.
Deciding whether to repair or replace a sprinkler valve can be challenging, but there are key indicators that can guide your decision-making process. If the valve is relatively new and only has minor issues—such as a small leak or a faulty solenoid—repairing it may be a cost-effective solution. Simple fixes like replacing seals or cleaning out debris can often restore functionality without requiring a full replacement.
Conversely, if your sprinkler valve is old and has experienced multiple problems over time, it may be more prudent to invest in a new one. Frequent repairs can add up quickly, and an aging valve may not perform as efficiently as a newer model would. Additionally, advancements in technology mean that newer valves often come with improved features that enhance performance and durability, making replacement a worthwhile consideration.
When it comes to replacing a sprinkler valve, you have two primary options: hiring a professional or tackling the project yourself. If you have experience with plumbing or irrigation systems, you might feel confident in your ability to handle the replacement on your own. DIY replacement can save you money on labor costs and give you a sense of accomplishment once the job is done.
However, if you’re unsure about your skills or if the job seems particularly complex, hiring a professional may be the best route. Professionals have the expertise and tools necessary to ensure that the replacement is done correctly and efficiently. They can also identify any underlying issues that you might overlook as an amateur.
Ultimately, weighing your comfort level with DIY projects against the potential benefits of professional assistance will help you make an informed choice.
Choosing the Right Replacement Sprinkler Valve
Selecting the right replacement sprinkler valve is crucial for ensuring optimal performance in your irrigation system. Start by considering the type of valve that best suits your needs—whether it’s a diaphragm valve, globe valve, or another type—based on your specific watering requirements and system design. Each type has its advantages and disadvantages; understanding these will help you make an informed decision.
Additionally, pay attention to factors such as size, material, and compatibility with your existing system. The replacement valve should match the specifications of your current setup to avoid complications during installation. It’s also wise to invest in a high-quality valve from a reputable manufacturer; while it may come at a higher price point initially, its durability and performance can save you money in repairs and replacements down the line.
Steps for Properly Installing a New Sprinkler Valve
Installing a new sprinkler valve requires careful attention to detail to ensure proper functionality. Begin by turning off the water supply to your irrigation system and draining any remaining water from the pipes. Next, remove the old valve by disconnecting it from the piping system; this may involve unscrewing fittings or cutting pipes if necessary.
Once the old valve is removed, prepare the area for installation by cleaning any debris or old sealant from the pipe ends. Position the new valve in place and secure it according to manufacturer instructions—this may involve using Teflon tape on threaded connections or applying PVC cement for slip fittings. After ensuring everything is tightly connected, turn on the water supply gradually while checking for leaks around the new installation.
Maintaining a New Sprinkler Valve
Once you’ve installed a new sprinkler valve, establishing a maintenance routine is essential for ensuring its longevity and performance. Regularly inspect the valve for any signs of wear or damage; this includes checking for leaks around connections and ensuring that moving parts operate smoothly without obstruction. Keeping an eye on these details can help you catch potential issues early before they escalate into more significant problems.
Additionally, consider flushing out your sprinkler system periodically to remove any debris that may accumulate over time. This simple step can prevent clogs within the valve and ensure consistent water flow throughout your irrigation system. By prioritizing maintenance from day one, you’ll not only extend the life of your new sprinkler valve but also enhance the overall efficiency of your garden’s irrigation system.
If you are considering replacing your sprinkler valve, you may also be interested in learning about the benefits of creating an edible garden. Check out this article on edible gardens to discover how you can grow your own fruits and vegetables right in your backyard. This sustainable landscaping option not only provides fresh produce but also adds beauty and functionality to your outdoor space.
FAQs
What is a sprinkler valve?
A sprinkler valve is a key component of an irrigation system that controls the flow of water to the sprinkler heads. It opens and closes to allow water to flow to the sprinklers when needed.
How often should I replace my sprinkler valve?
The lifespan of a sprinkler valve can vary depending on factors such as the quality of the valve, the frequency of use, and the local water conditions. However, a typical sprinkler valve can last anywhere from 5 to 10 years before needing replacement.
What are the signs that my sprinkler valve needs to be replaced?
Some common signs that indicate a sprinkler valve needs to be replaced include leaks around the valve, inconsistent water flow to the sprinklers, and difficulty turning the valve on or off. Additionally, if the valve fails to open or close properly, it may need to be replaced.
Can I replace a sprinkler valve myself?
Replacing a sprinkler valve can be a DIY project for those with some experience in irrigation systems and plumbing. However, if you are unsure or uncomfortable with the process, it is best to hire a professional to ensure the job is done correctly.
What are the steps to replace a sprinkler valve?
The general steps to replace a sprinkler valve include shutting off the water supply, removing the old valve, installing the new valve, and testing the system for proper function. It is important to follow the manufacturer’s instructions and local plumbing codes when replacing a sprinkler valve.